Unlocking the World of Photography with Your Phone
Who needs a DSLR when your phone’s camera is already so capable? In this modern era, phones aren’t just for communication or social media anymore; they’re also a primary tool for capturing amazing photos. In fact, many flagship phones now boast camera features that can rival professional cameras.
This article will cover various tips and tricks to maximize your phone camera’s potential, helping you produce photos with the quality of a professional photographer. Let’s dive in!
-
Get to Know Your Phone Camera’s Features
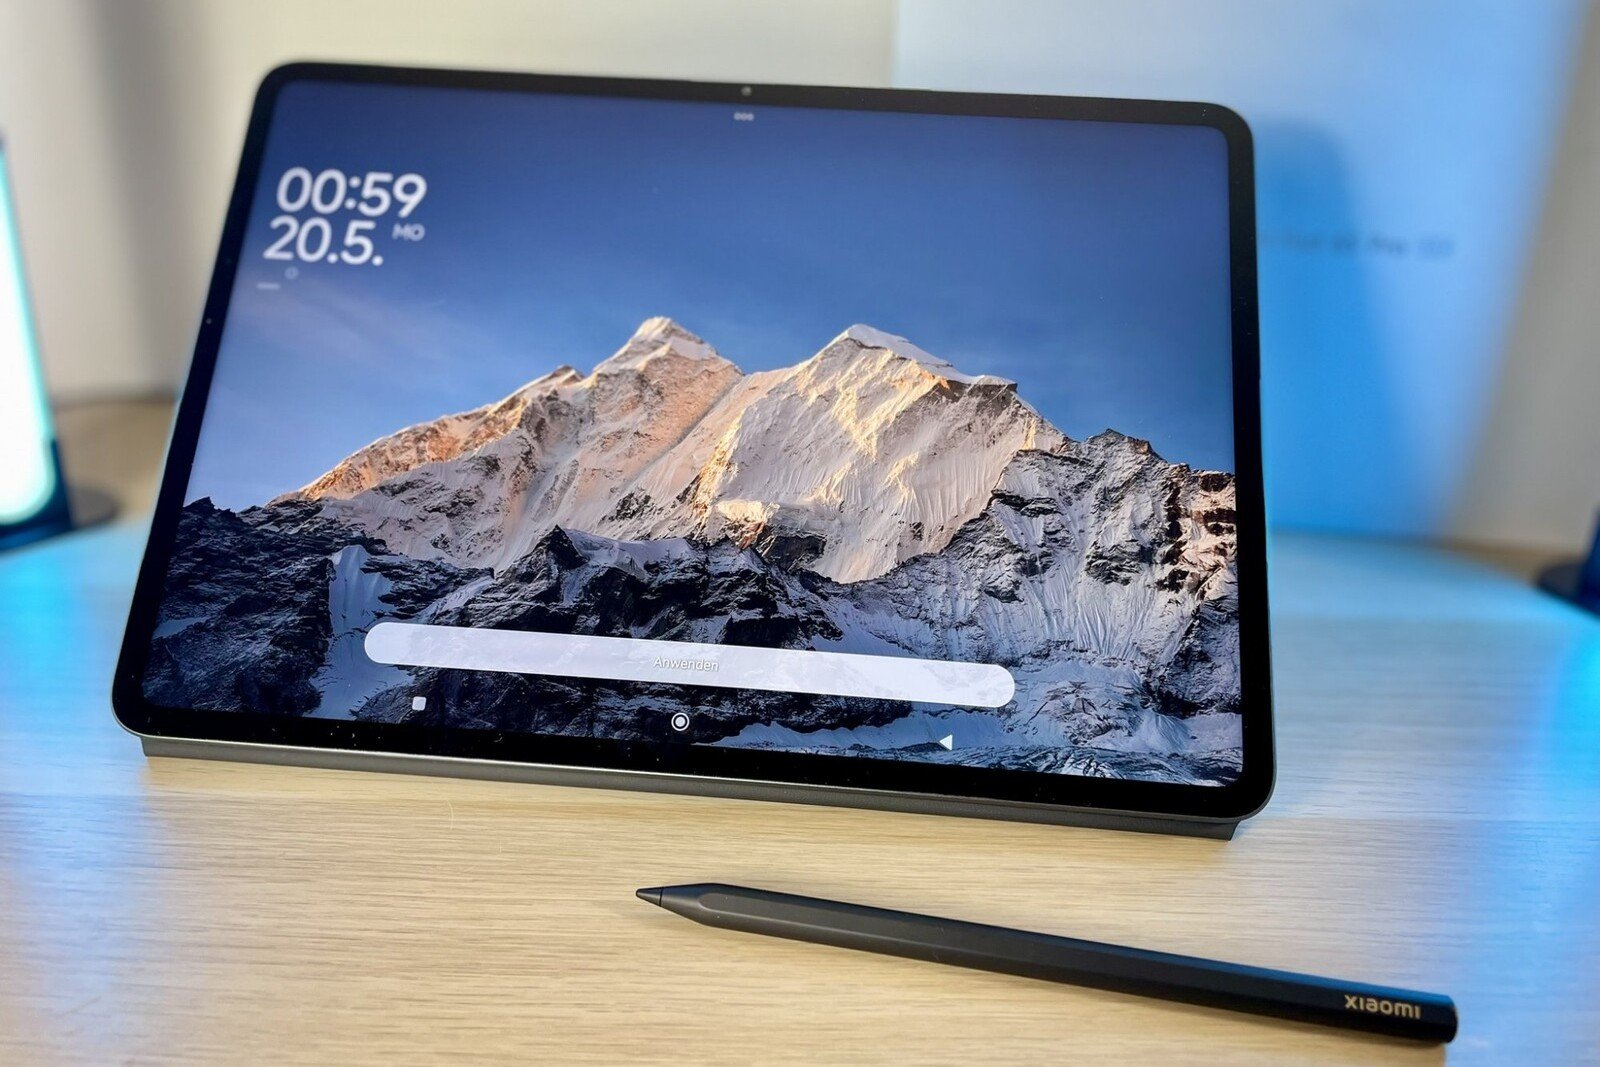
Every phone has different camera specifications, so the first step is to identify what features are available. Does your camera have a night mode? Are there manual options to adjust ISO or shutter speed? Also, understand how to set focus and exposure for desired results.
Use Pro or manual mode on supported phones. This allows you to manually adjust ISO, shutter speed, and white balance. The result? You have full control over the lighting and details captured by the camera.
-
Lighting is Key
As the old adage in photography goes, “Lighting is everything.” The quality of lighting greatly affects your photos. Natural light is the best option, so try to shoot outdoors when the sun isn’t too harsh, like in the morning or late afternoon. Avoid overly bright or dark lighting, as this can degrade image quality.
If shooting indoors, use light from a window or bright, indirect lighting on your subject. If your phone camera has HDR (High Dynamic Range) mode, use this feature to achieve better exposure balance between bright and dark areas.
-
Mastering Composition
You might have heard of the “Rule of Thirds” in photography. It’s a fundamental rule that greatly helps in composing your shots. Most phones have a grid feature that can be activated in the camera settings. Use this grid to place your photo subjects at the intersections of the vertical and horizontal lines. The result: your photos will look more balanced and engaging.
Don’t be afraid to experiment with shooting angles. Try shooting from low or high angles to add a more interesting perspective.
-
Avoid Digital Zoom
One of the most common mistakes when using a phone camera is overusing digital zoom. Digital zoom merely enlarges the image, ultimately degrading photo quality. Instead, get closer to your subject if possible, or use cropping after the photo is taken. This way, image quality remains intact.
If your phone has a telephoto lens, utilize it to magnify objects without compromising image quality. A telephoto lens provides optical zoom, which is far superior to digital zoom.
-
Steady Your Hands or Use a Tripod
Minor hand tremors when shooting can cause blurry images, especially in low light conditions. Make sure to hold your phone with both hands and lean against a sturdy surface if needed. For even more stable results, use a small tripod specifically designed for phones.
Many phone tripods are affordable and easy to use. Some even come with Bluetooth remote controls, allowing you to shoot without touching your phone at all, avoiding shake during capture.
-
Post-Processing: The Finishing Touch
Great photos often require a little refinement. There are many photo editing apps on the market, such as Lightroom, Snapseed, or VSCO, which allow you to adjust lighting, contrast, saturation, and more.
However, remember not to overdo the editing. Just make small adjustments to maintain the natural look of the photo. Reduce noise, enhance details, and correct white balance for a more professional outcome.
-
Experiment with Portrait and Macro Modes
Many modern phones come equipped with portrait and macro modes. Portrait mode creates a blurred background (bokeh) that makes the subject stand out, while macro mode allows you to capture tiny details of close-up objects, such as flower textures or insects.
Use both these modes to create unique and professional-looking photos, especially when photographing people or small objects.
Wrapping It Up
Shooting with your phone can be a fun and easy way to capture moments. By following these steps, you can elevate your phone photos to a more professional level. Remember, the key to good photography is understanding your device, leveraging lighting, and continuously experimenting with different angles and modes.
Did this guide help improve your phone photos? Share your experiences and shots in the comments below!