First time looking at Adobe Premiere Pro? Honestly, the interface with its myriad panels and complex timeline can make your eyes twitch and feel like giving up before you even start.
Yet, behind that professional appearance, Premiere Pro is an incredibly powerful visual storytelling studio. It’s the tool used for everything from hit YouTube videos to Oscar-winning films. You have complete control over how your raw footage transforms into a cool visual narrative.
Okay, take a breath. This guide will be your first step towards confidently editing videos. We’ll focus on fundamental workflows and the tools you’ll likely use 90% of the time. So, get ready to turn ordinary footage into extraordinary work, frame by frame!
-
Set Up Your Workspace: Import & Organize Media
Before you start cutting, there’s one crucial step: organization. A tidy video project is key to saving time and avoiding headaches later. Don’t find yourself editing a video while searching for lost files.
First, open Premiere Pro and you’ll see the “New Project” screen. Name your project and, most importantly, choose a save location for your project file (.prproj) and all other assets. Try to keep everything within one main project folder.
Now, the Project Panel is like your archive cabinet, usually found in the bottom left. All your media—video clips, audio files, images, graphics—will gather here. It’s your control center for all assets.
To import media, you can go to File > Import or, the easiest way, just drag files from your computer’s folders directly into the Project Panel. Super easy, right?
Then, create “Bins” or folders within the Project Panel. This is essential for keeping your media organized. Click the small folder icon at the bottom of the Project Panel. A tip: create Bins for each media type, e.g., “Main Footage,” “B-Roll,” “Audio,” “Music,” “Graphics.”
-
The Heart of Editing: Timeline & Basic Tools
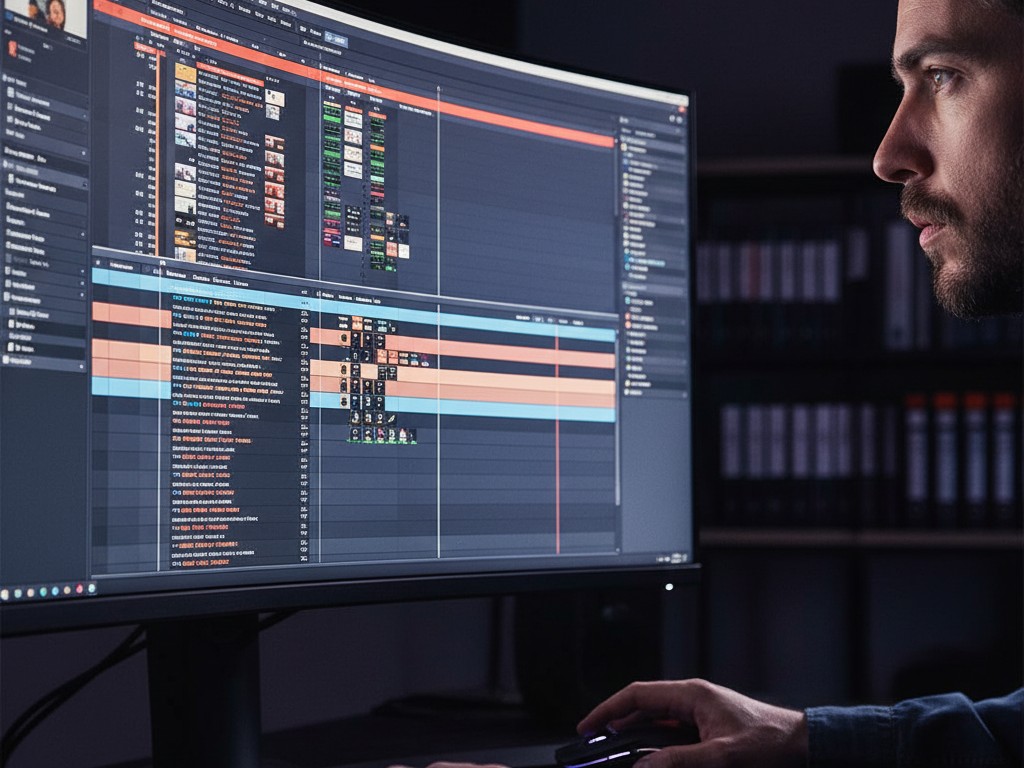
The Timeline is where your story is assembled. It’s a visual representation of your video from left to right, as time progresses. Here, all the cuts, transitions, and effects will come together.
To create a Sequence, this is your main canvas in the Timeline. The easiest way is to drag your main video clip from the Project Panel into an empty area of the Timeline. Premiere Pro will automatically create a new Sequence with settings (resolution, frame rate) that match your clip.
The Timeline is also divided into Video Tracks (V1, V2, V3, etc.) and Audio Tracks (A1, A2, A3, etc.). Clips on higher video tracks (e.g., V2) will appear on top of clips on lower tracks (V1). Audio from all tracks will play simultaneously.
Here are the essential tools in the Toolbar you need to know:
- Selection Tool (V): This is your primary tool. Use it to select, move, and trim clips on the timeline. Hover your cursor over the beginning/end of a clip until it turns into a red bracket icon, then click and drag to trim.
- Razor Tool (C): The cutting tool. Use it to split one clip into two parts. Simply click anywhere on the clip in the timeline. It’s crucial for removing unwanted sections or mistakes.
- Type Tool (T): For adding text or titles. Select this tool, click in the Program Monitor window (video preview), and start typing. A new text layer will automatically appear on the timeline.
Indeed, it takes a little time to adapt and get used to all these tools. Especially if your laptop has modest specs, Premiere Pro can sometimes feel a bit sluggish when working with many tracks or effects. But don’t worry, that’s normal!
-
Assembling the Story: Basic Editing Workflow
The most common editing workflow has three simple steps. Once you master these, the rest is about improvisation and exploration.
First, create a “Rough Cut.” Place all your main clips on the timeline (V1 track) in order. Use the Razor Tool (C) to cut out bad parts (e.g., misspoken words, shaky camera). Then, use the Selection Tool (V) to remove gaps and tighten the clips. At this stage, don’t aim for perfection; the goal is just to lay out the basic structure of your story.
Next, add B-Roll. B-roll is additional footage you place over your main footage (A-roll) to add visual context and make the video more engaging. For example, if you’re talking about coffee (A-roll), add B-roll clips showing the coffee brewing process. Place these B-roll clips on a higher video track (e.g., V2).
Finally, perfect the Audio. Audio is often much more important than video, don’t overlook it! Place background music on an audio track below (e.g., A2). Use the “Essential Sound” panel to easily categorize your audio (Dialogue, Music, SFX) and adjust its levels. Make sure the music volume isn’t so loud that it drowns out your dialogue.
-
The Finishing Touches: Transitions, Text, & Color
This is where your video gets polished. Small touches here can drastically change the look and feel of your video.
Transitions help smooth the movement between clips. The most common and professional transition is the “Cross Dissolve.” You can find this in the Effects panel, under Video Transitions > Dissolve. Simply drag and drop the transition between two clips on the timeline. Remember, use transitions wisely; too many flashy transitions can make a video look amateurish.
After adding text with the Type Tool (T), open the “Essential Graphics” panel to change the font, size, color, or add elements like backgrounds/shadows. This panel has very intuitive controls for all your text needs. Explore the various options to find the right style.
Basic Color Correction can also drastically change your video’s mood. Open the “Color” workspace to access the “Lumetri Color” panel. Start with the “Basic Correction” tab. Here you can adjust Exposure (brightness), Contrast, Highlights, Shadows, and Saturation. Even small adjustments can make your footage look much more professional and vibrant.
-
Showcase Your Work: Exporting Your Video
Once you’re happy with your edit, it’s time to export it into a single video file that can be shared with the world. This is the final step that determines the output quality.
Go to File > Export > Media (or press Ctrl + M / Cmd + M). This will open the Export Settings window. Here, you have many options.
For Format, for most web use (YouTube, social media), choose H.264. This is the gold standard for online video because of its good quality and efficient file size. Premiere Pro also has many useful Presets. Scroll down and select a preset that fits your target platform, like “Match Source – High bitrate” for the best quality, or “YouTube 1080p Full HD.”
In the Output Name section, click the file name to choose where to save the final video and give it a name. Finally, click “Export.” Premiere Pro will render your video. The time required depends on the length, complexity of the project, and your computer’s speed. Be patient!
Ready to Become a Skilled Video Editor?
Congratulations, you’ve completed the video editing workflow from start to finish! Like any other skill, the key to mastering Premiere Pro is simple: practice. Don’t be afraid to experiment with the various tools and effects available.
Try it out: import some random clips from your phone, then assemble them into a short story. Every project you complete will boost your confidence and speed. Remember, this software is just a tool. The most important thing is the vision and the story you want to convey. Now, go create!

